We all lead very busy lives and we don’t always have a lot of time to spend in the kitchen putting together something for the family to enjoy for lunch time or snacks. I have a recipe for cheesy Burrito Melts to share with you today! It’s not only very easy to make but is also very quick to put together as well as being deliciously nutritious!
Jump straight down to the short recipe!
Burrito Melts are a quick and easy hot sandwich that your family will love. They can be cooked either in the oven or in a microwave oven, which makes them perfect for hungry students to throw together on those study nights in the dorm when they’re not able to get out for a meal!
Toasted English Muffin halves are topped with a nicely spiced bean mash, grated cheese and some pepper strips prior to cooking, for the win! Great for Game-Nights or light lunches, these tasty melts spell winner/winner on all counts!
Gathering All the Ingredients!
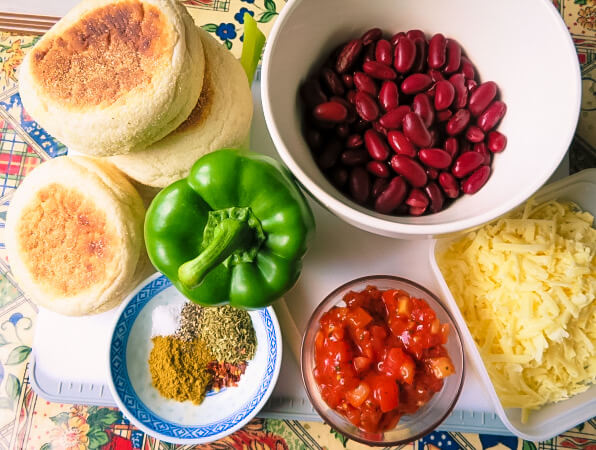
The simple Burrito topping uses ingredients that most people will already have in their kitchens at any given time. All you will need is a tin of cooked kidney beans, drained and rinsed, a medium sized green pepper, some tomato salsa, one green onion, ground cumin, oregano, hot pepper flakes, and some salt and pepper to season. Oh, and of course, plenty of cheesy cheese like cheddar!
These go together lickety-split! Seriously speaking, the longest and hardest part will be mashing the beans. Speaking of…
Mashing the Beans

You will want to drain your beans well and then rinse them under cold running water, draining them again. I put them into a glass bowl with angled sides and then tilted the bowl on its slightly and mashed them with a fork, pressing them down firmly along the sides of the bowl. This is what worked best for me.
I suppose you could use a potato masher as well if you have one which is a size that will fit into your bowl. You don’t want them mashed completely smooth, but you don’t want them too chunky either. Somewhere in the middle of those two things is perfect!
Cutting the Pepper and Onion
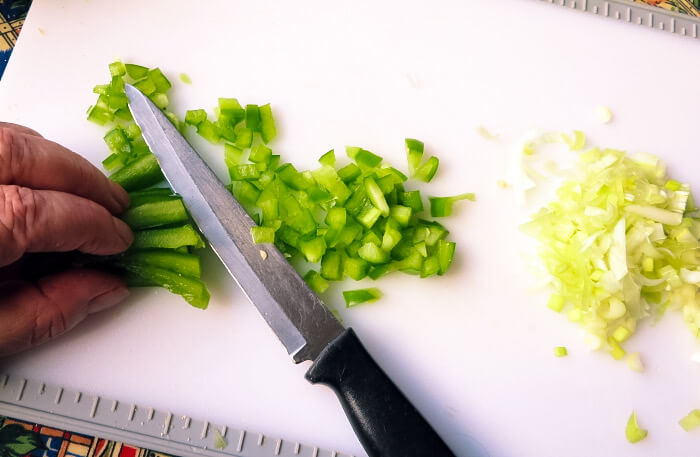
You will be mixing your tomato salsa, the finely chopped green onions and some green pepper into the mashed beans. To chop the green onion, I trim both the stem and root end and wash it very well in cold running water.
Take note that sand can get caught inside these onions, so I like to split the stem area and give them a good rinse inside as well. Just shake them dry. I then use a sharp paring knife to slit them lengthwise almost all the way to the root in quarters and then, using a rocking motion and my handy chef’s knife, I quickly make short work of chopping them into bits.
One quarter of the green pepper will need to be cut into small bits for stirring into the bean mash and the rest will need to be cut into strips. I find the easiest way to do this is to cut the whole thing into strips first!
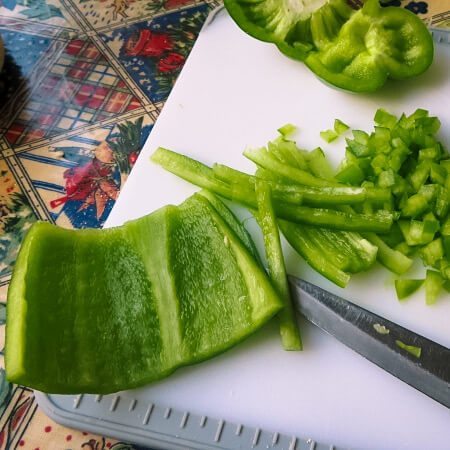
I have an easy trick that I use to cut peppers into evenly sized strips. If you cut both ends of the pepper off (top and bottom) you will be left with a cylinder. Cut a slit down one side so that you can unroll it.
Trim off and discard the ribs and seeds and you will have a length of pepper that you can easily cut into equally sized strips. Cut about a fourth of these into smaller bits for the bean mash. Easy peasy. You can save the tops and bottoms in a covered tub in the freezer to use in making simple soups and stocks. Nothing is wasted.
Mashing the Burrito Mix
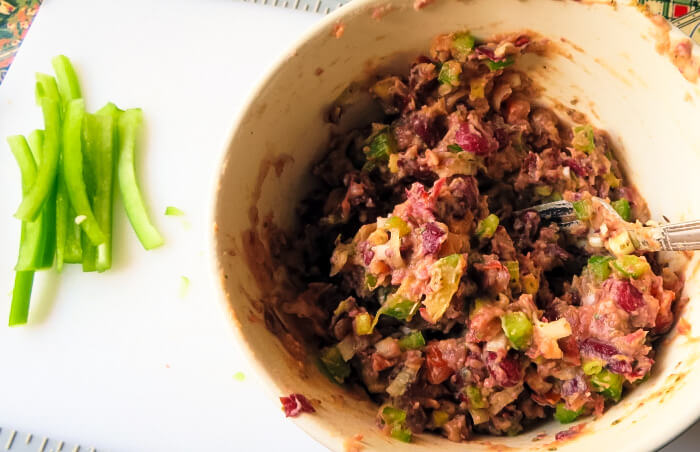
You will be mixing the smaller chopped peppers into the mashed beans along with the chopped onion, salsa, herbs and seasonings.
Top Tip!
To get the most flavour that you can from aromatic herbs such as ground cumin, I always toast them lightly in a dry frying pan over moderately high heat for about 30 seconds, just until they become very fragrant. This helps to really bring out their natural flavours and works well when using any of the ground spices such as cumin or coriander. It also helps if you toast these spices when they are seeds. Trust me when I say that once you have tried toasting them, you will never want to use them in any other way. It’s a simple thing that makes a huge difference in flavour.
You want to mash the beans, peppers, onions, salsa and spices together well, so that they are mixed evenly. I always taste it to see if I need any more seasoning or not. Some manufacturers put more salt in their tinned beans than others and of course it will depend on how salty your salsa is as well. So, give it a taste and adjust as needed.
Final Assembly
If your English Muffins have not already been split when you buy them, you will need to split them in half yourself prior to toasting. This is very easily done by taking the prongs of a fork and inserting them in the centres of the muffins all the way around the circumference of each muffin. They will split easily after that and you will have a lovely rough texture which is perfect for toasting.
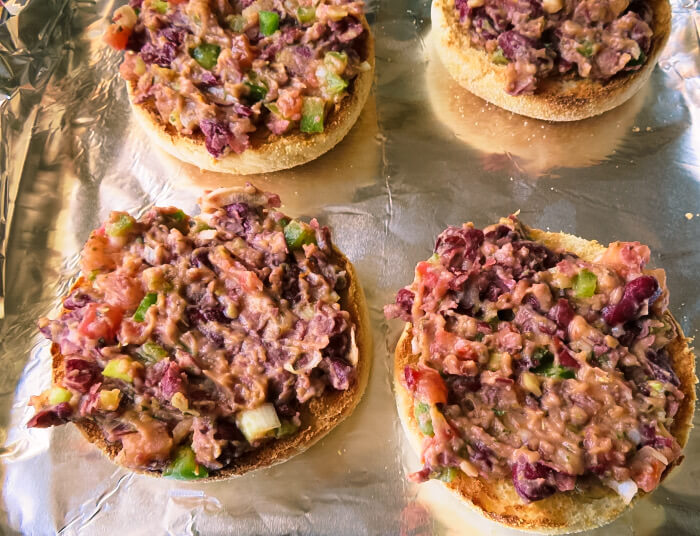
Prior to topping them with the bean mash, I toast the English Muffins on the cut sides only, beneath a hot grill, just for a few minutes until golden brown. Once you have toasted them you can spread the tops with the mash.
I like to be quite generous with my topping. You can spread it all the way to the edges or, if you like really crisp edges, spread the mash to just short of the edge. I keep the topping a bit rough as well. I find that it makes for a much more attractive finish!
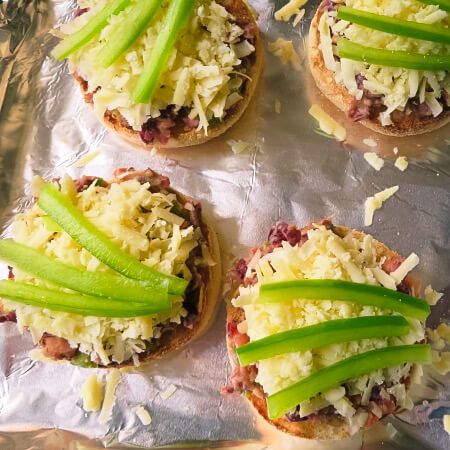
Now all that is left to do is to sprinkle the grated cheese on top and lay on some pepper strips. You can use already grated cheese if you want to with these. I always grate my own cheddar, but this is not something that will be adversely affected by using already grated cheese. Be generous!
Once you have the muffins all topped, all that remains is to bake them in the oven until they are heated through and the cheese has melted!

These are so simple and so very delicious. They are real children and man pleasers as well. I like to serve them up hot with some fresh vegetable sticks on the side for a nutritious lunch or light supper. For game nights you could cut them into halves or quarters for easy eating!
Ready to Serve!
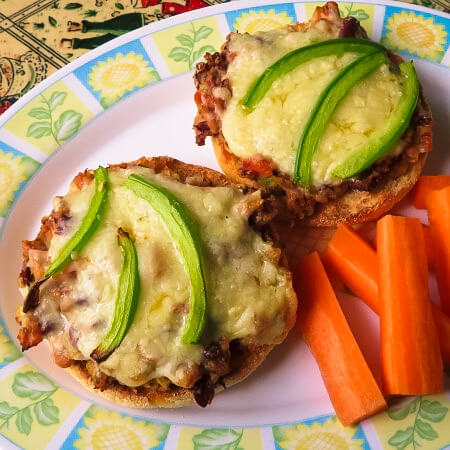
I don’t think you will have any complaints and you can feel good about serving these burrito melts to your family because not only are they delicious, but they are quite nutritious as well, being a great source of protein, high in fibre and an excellent source of calcium and iron. Shhh!!! If you don’t tell them I promise not to either!
Cheesy Burrito Melts Short Recipe
Serves: 4
A hot delicious snack or light lunch that goes together quickly. You can bake these in the oven until the cheese melts or cook them in the microwave. This option makes them great for Students in their dorms. They are also great for game nights when you want to serve a hot snack whilst watching the big game on the telly!
Ingredients
- 1 cup grated strong cheddar cheese
- 1 can of red kidney beans, drained and rinsed (19 oz.)
- 1 green bell pepper
- 3 tbsp prepared tomato salsa
- 1 green onion, trimmed and chopped
- 4 English muffins
- 1 tsp ground cumin
- 1 tsp dried oregano flakes
- Pinch hot pepper flakes
- Salt and pepper to taste
Instructions
- Put the drained and rinsed beans into a bowl. Mash them well with a fork.
- Chop ¼th of the green pepper. Cut the remaining pepper into ¼ inch strips and set aside.
- Stir the chopped green pepper, tomato salsa and chopped green onion into the mashed beans.
- Toast the cumin in a dry skillet over medium heat until fragrant. Add to the bean mixture along with the oregano and pepper flakes. Season to taste with salt and black pepper.
- Split the English muffins in half and lightly toast them on the cut sides under a hot broiler.
- Preheat the oven to 400°F.
- Place the toasted muffins onto a baking sheet. Spread each toasted muffin half with a portion of the bean mixture. Top with the cheese and some pepper strips.
- Pop into the oven for about 10 to 15 minutes, until heated through and the cheese is melted and bubbling. Delicious!
- Alternately, you can place onto microwavable plates, top as above and microwave on medium (50%) until heated through and the cheese bubbles.
Note!
These open-faced sandwiches can be assembled and refrigerated, wrapped, for up to 1 day ahead.
Complete Steps in Pictures

Step 1 – Gather all the ingredients 
Step 2 – Mash the beans 
Step 3 – Chop the pepper 
Step 4 – Chop the onion too! 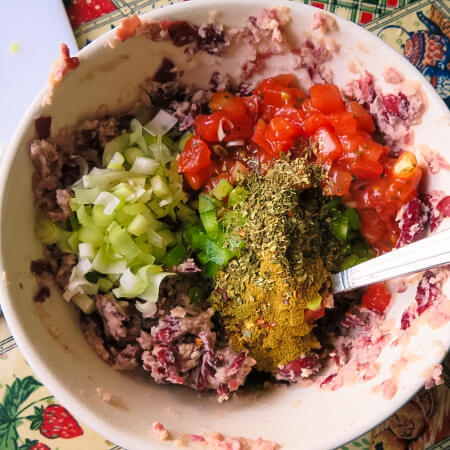
Step 5 – mix toasted cumin, other herbs, with pepper, onion, and beans 
Step 6 – mix until a chunky paste forms 
Step 7 – toast english muffins and place paste on halves 
Step 8 – put a generous heap of grated cheddar on top with bell peppers 
Step 9 – Bake and serve! 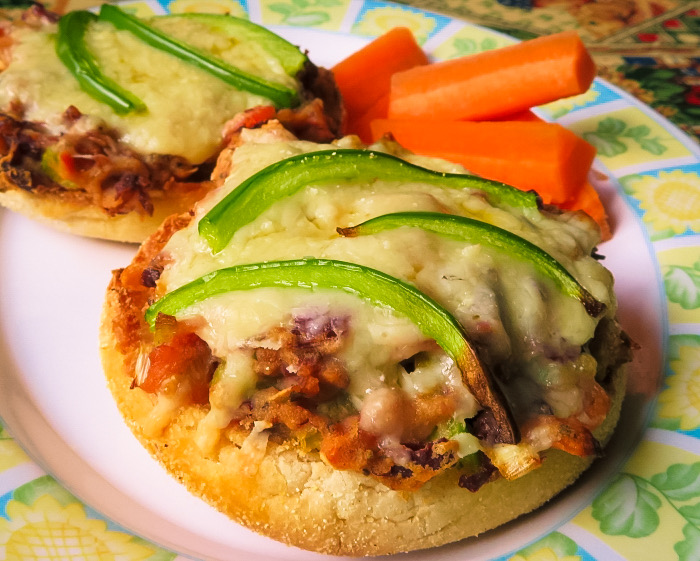
Don’t these look great? 
Yummy! 
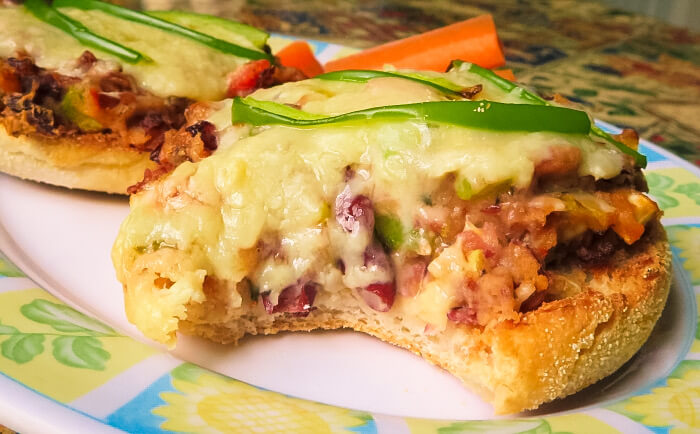
Couldn’t help but take a bite!
Check out some of my other recipes:
