Pizza muffins have all the flavours of pizza except that the flavours are in a compact, hand-holdable and lunch box fillable size. With plenty of grated cheddar cheese, chopped pepperoni, chopped scallion, chopped cherry tomatoes, some herbs, and a few other bits, you end up with something which your children are sure to love! They will be the envy of their classmates, I guarantee!
Jump down straight to the short recipe!
Pizza Muffins for Your Little Ones
With the advent of the new school year, parents all over are facing that age-old question when it comes to boxed lunches. “How do I keep them interesting for my child and yet still healthy!” One thing that goes a long way towards answering that question, and in a most delicious way, is to bake them some savoury muffins. Sandwiches can get boring after a while, and you may find yourself lacking in inspiration when it comes to filling them. Nobody wants to eat the same thing day after day!
Children love to eat things that they can hold in their hands, and they adore muffins. Not quite a cake, but quite similar, savoury muffins were always very popular lunch box additions with my own children when they were growing up, and they remain popular with my grandchildren today. Combine them with the flavours of another favourite food, pizza, and you have a totally winning combination!

Gather All the Ingredients
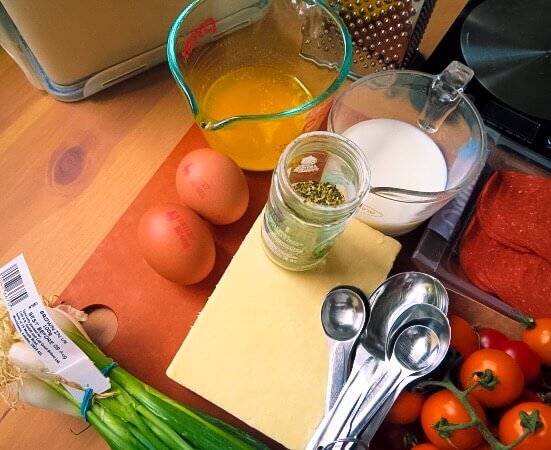
These muffins are relatively easy to create so long as you follow a few rules. One is to make sure that all your ingredients are at room temperature. This includes melted butter, milk, eggs, and any add-ins such as cheese, meats and vegetables.
It is much easier to mix together the wet ingredients if everything is the same temperature. If your milk and eggs are refrigerator cold, the melted butter will immediately harden, which is not something you want to happen, so room temperature is the way to go!
Mixing the Flour and Herbs
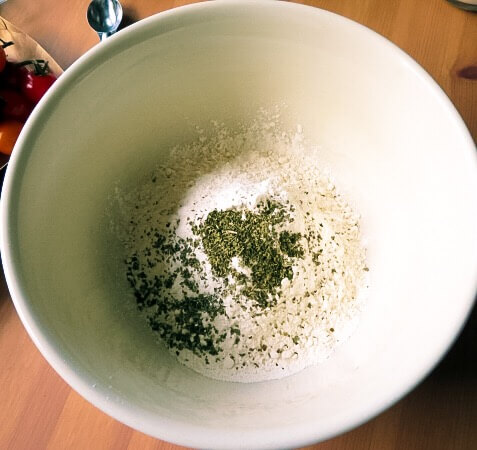
I like to mix my flour and any herbs together in a bowl first. These muffins use oregano. Basil would also be very good, as would an Italian garlic herb mix.
Bear in mind however that most young children like things to be a bit simple and so I wouldn’t go crazy with different flavours, or flavours that are too strong for their delicate palates.
PRO TIP
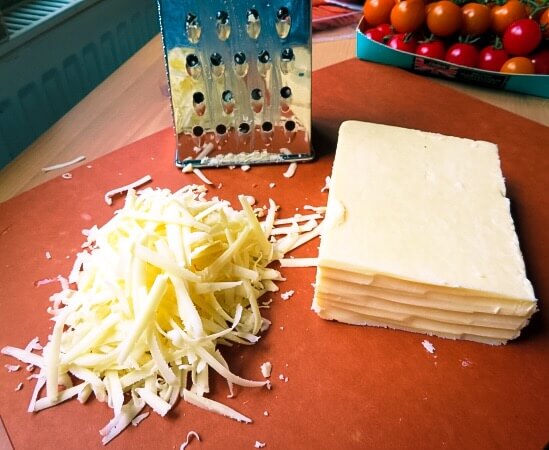
Don’t be tempted to use already grated cheese purchased from the supermarket. This always has things added to it to keep it from sticking together, so that it flows easily. Using it will alter the chemical composition of your muffin. Always grate your own cheese, especially when it is going to be used in baking. I use the large holes of a box grater to grate mine. I like a sharp cheddar cheese because it gives the nicest flavour, and the flavour doesn’t get overwhelmed by any of the other ingredients. It stands up very well to them. This is important when you are baking something with a mix of flavours and textures. You don’t want any one of them to take over and interfere with any other flavours you might have in the mix.
Mixing in the Cheese and Liquid Ingredients
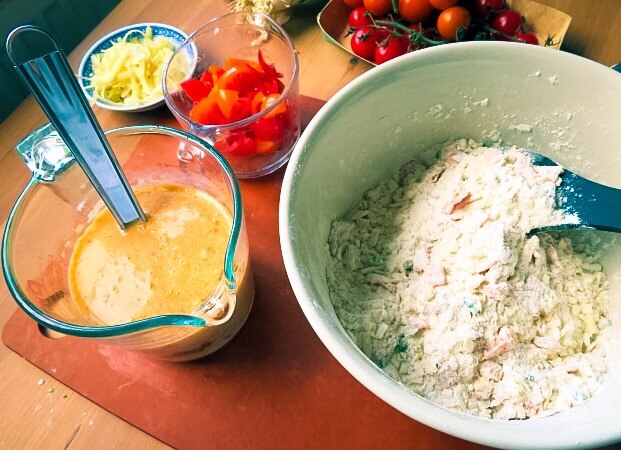
I like to add the cheese, scallions, and meat to the flour and the herbs in the bowl, and then mix them all together with my hands. That way everything gets coated with the flour and retains its individuality in the mix. You don’t want big lumps of anything. Ideally, everything should be evenly distributed.
I also beat all the liquid ingredients together in a separate measure. This includes the eggs, red pesto sauce, milk, and melted butter. As you can see, because they are all at room temperature, the butter has not hardened in the mix and will end up being mixed throughout the finished batter.
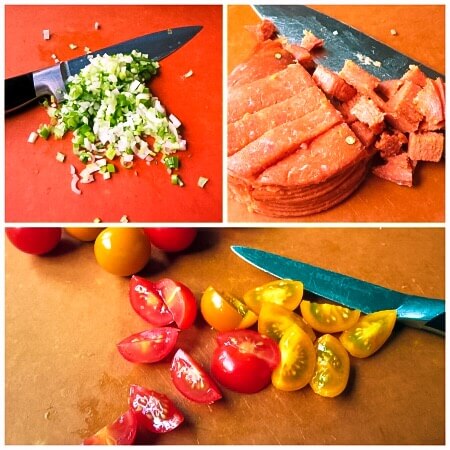
I like to chop the scallions quite finely, and I cut the pepperoni into smallish cubes. Ideally, you will want to use those pepperoni snack kind of sticks as they will be easier to chop and mix in better. I was unable to find any of those the other day when I did my shopping, so have used pepperoni slices instead. I used a mix of yellow and red cherry tomatoes. The different colours look really nice in the mix. You will want to use a sharp knife for chopping up these ingredients. A good chef’s knife that is well sharpened will do the trick.
ANOTHER TOP TIP
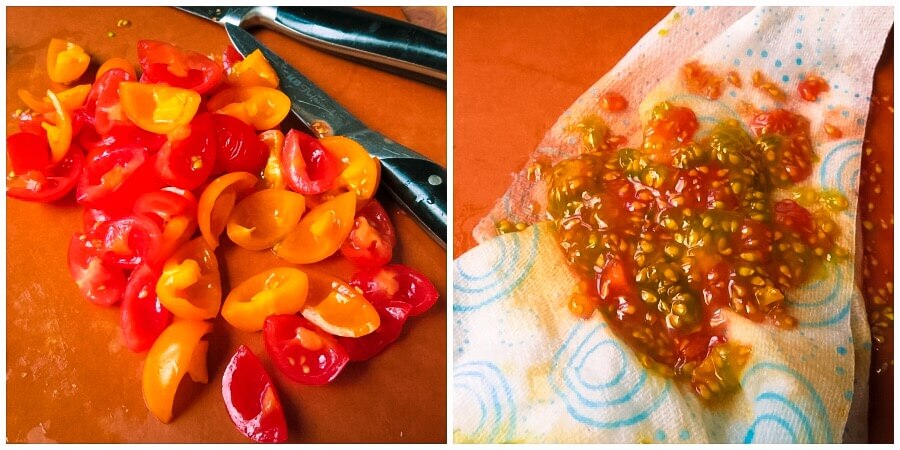
Let’s talk about the tomatoes for a bit. Tomatoes can be a bit of a wet ingredient. I always wait until the very end to add these to the muffins. I also remove all the seeds and wet flesh from them before I mix them in. It only takes a few minutes to do so. Just give them a tiny squeeze and they should release all the wet stuff with very little effort. Just squeeze the seeds onto some paper kitchen towelling and they will be ready for the compost pile! You may even get some surprise tomatoes growing next year from the compost heap if you are lucky!
Ready to Mix

Once you have removed all the pips from the tomatoes you can stir them into the batter. You will end up with a stiff batter. That is as it should be. Take care not to overmix it.
When making quick breads such as muffins and loaves, you should only mix them together until no dry streaks remain. Lumps are okay! It only adds to the beauty of them. They are not supposed to be works of art like cakes are, and over-working them may cause them to have a tough texture!
Baking the Muffins

Once you have the batter mixed it is time to bake them. I recommend a medium-sized muffin tin, with twelve cups. Line them with paper liners and divide the batter evenly between the twelve cups. With some muffins, you can just butter the cups well, but because of the cheese in these, I do not recommend baking them without papers!
Once the tin is filled, I like to sprinkle a bit more cheddar cheese on top of the muffins, which will melt and enhance their appearance when done!
And You’re Done!

Don’t those look yummy! And what a beautiful texture they have, with plenty of lovely different bits and textures to please and tempt the eyes and palate! You don’t have to stick with my suggestions totally, however. If your children are fond of olives, chop some of them up and add them. If they don’t like tomatoes, perhaps they will like sun-dried tomatoes? Maybe you will want to add a bit of finely grated parmesan cheese, or chopped bell pepper!
The important thing is to have fun and know that you are creating something for your children that they are going to love and that they will look forward to eating!
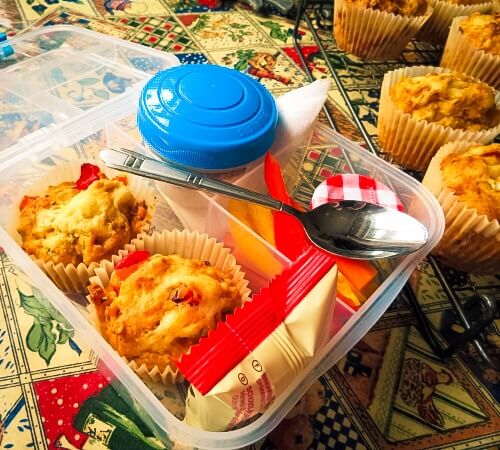
All you need to add now are some crisp vegetables and something to dip them in, some yogurt and fruit perhaps, and some little sweet treat to really put a smile on their faces! Happy Back to School Days!
Lunchbox Pizza Muffins Recipe
Makes: a dozen muffins
Easy to mix up in one bowl and so very delicious. These muffins make the perfect addition to children’s lunch boxes or to be eaten as an afternoon snack. It is not recommended that you freeze them.
INGREDIENTS
- 2 medium room temperature free-range eggs, beaten lightly
- ½ cup whole milk, room temperature
- ½ cup butter, melted, room temperature
- 2 tbsp red pesto
- 2 cups grated sharp cheddar cheese
- 1 ½ cups cherry tomatoes, halved
- 2 ½ ounces pepperoni, chopped
- 2 scallions, minced
- 1 tsp dried oregano
- 2 cups self-rising flour
- 4 tbsp additional grated cheddar to sprinkle on top

INSTRUCTIONS
- Preheat the oven to 350°F. Line a 12-cup medium muffin tin with paper liners. Set aside.
- Measure the flour into a medium sized bowl along with the oregano. Add the grated cheese, chopped scallions and chopped pepperoni. Mix together with your hands to combine well.
- Chop your tomatoes. It is recommended that you remove and discard all the seeds. You risk a soggy muffin if you don’t.
- Mix together the eggs, melted butter, red pesto and milk, combine all together well. Add all at once to the cheese and flour mixture in the bowl. Mix together just to combine. Add the chopped tomatoes and mix again. The batter will seem stiff, but don’t worry, this is the way it should be.
- Spoon into the prepared muffin cups, dividing it equally amongst them and filling them 2/3 full. Sprinkle some of the additional cheddar on top.
- Bake in the preheated oven for 20 to 25 minutes, or until a toothpick inserted in the centre comes out clean. Remove to a wire rack to cool completely before serving. Serve at room temperature.
- Store any leftovers in the refrigerator.
Complete Steps in Pictures

step 1 gather the ingredients 
step 2 mix flour and oregano 
step 3 freshly grated cheese 
step 4 mixing in the liquid ingredients 
step 5 chopping the fresh ingredients 
step 6 cutting tomatoes and removing the pips 
step 7 mixing everything up 
step 8 Baked collage 
step 9 Baked muffins are ready! 
step 11 ready to eat pizza muffins 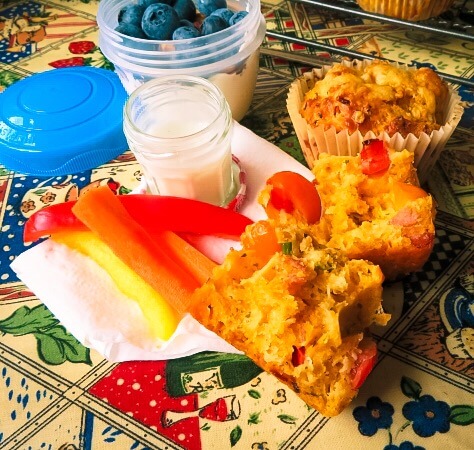
step 12 pizza muffins inside view 
step 13 Packed lunch
Check out some of my other recipes:

